Prerequisite: Create a Work Order
-
- Once a Work Order is created you can begin to add items.
- The Items become purchase orders and can be ticked off as they are completed.
- See link: Work Orders | WEB | Create New Work Orders
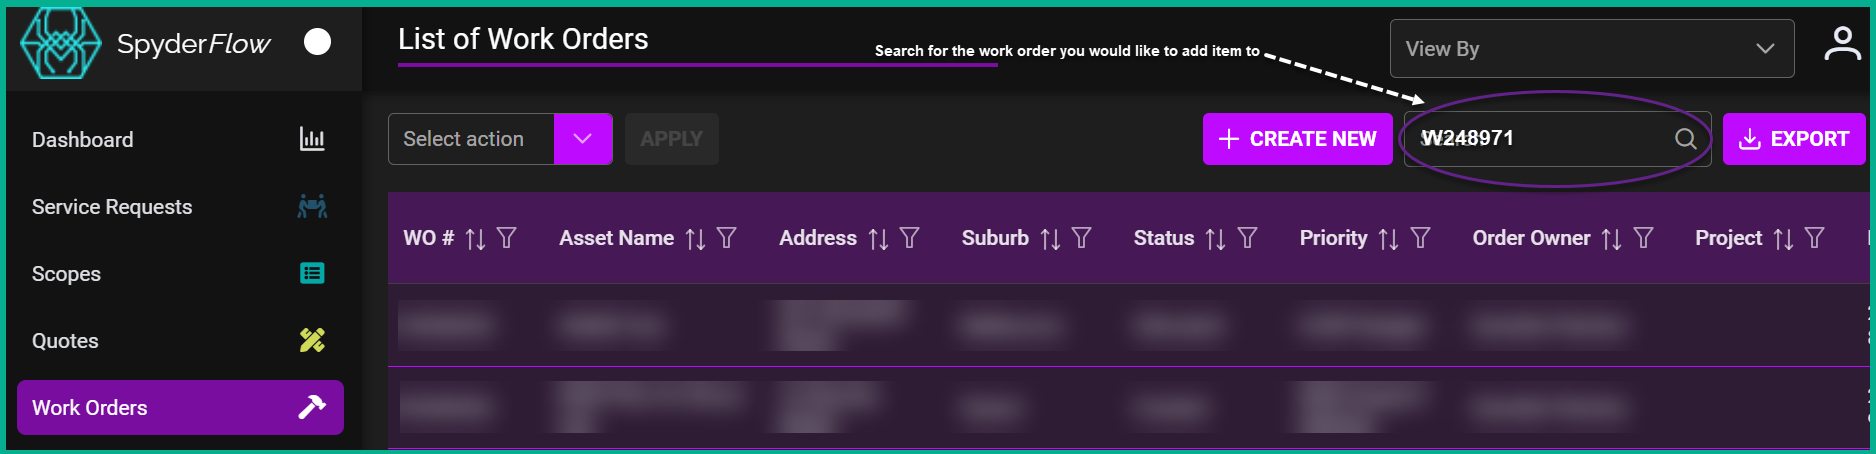
Search for Required Work Order
- Search for and Select Work Order from List of Work Orders page
- Main Menu –> Work Orders –> List of Work Orders
Inside the Selected Work Order
- Work Order view shows details at top: Contact Details, Work Instructions, Dates, Pricing, Flags in window pane type view.
- Tabs are below for: Items, Details, Contacts, Related, Work History, Purchase Orders, Notes, Attachments, Activity.
Items Tab: Add Items
- Items tab should show as default with underline to highlight (when work order is in created status).
- Click +ADD to start adding your items to the work order.
- Input information into: Item, Location, Qty, Comments, Allocated To, Due, PO#. Red highlighted fields are required. Others are optional.
- Items fields can be preset as a drop down to begin typing item code to select from options. Or they can be type as you go.
- (Check with your Manager or SpyderFlow Administrator for dropdown options to be set in Settings: Rates if required and option not available).
- When item details complete Click Save icon at end of row.
- Click Save & Send to save and also send off to employee or contractor to view Item allocated to them.
Note: Bulk Allocate button (above Allocate To field). Add contractor, allocate multiple Items.

Glossary of Field terms
- Item: Add item code
- Keywords: Keywords for the item
- Location: Where is the item located?
- UOM: Units of Measure
- Comments: Type any comments
- Allocated To: Is this Item to be allocated to an employee or contractor to work on.
- Due: When is completion due by?
- PO#: Purchase Order number
Next: Work Orders | WEB | Item of Work Process